Boston Children's Museum
308 Congress Street, Boston, MA 02210
617-426-6500
© Boston Children’s Museum 2025
Website Design by JackrabbitAs children discover how to express themselves through art, they should learn how to use a variety of materials and media such as crayons, chalk, paint, clay, various kinds of papers, textiles, yarns, etc. It is important for them to also understand how to use these materials to produce different visual effects. Shadow puppets offer children an opportunity to not only develop this knowledge, but also to create artwork in a variety of 2-dimensional and 3-dimensional media, to use appropriate vocabulary related to methods, materials and techniques, and to take care of materials and tools and to use them safely.
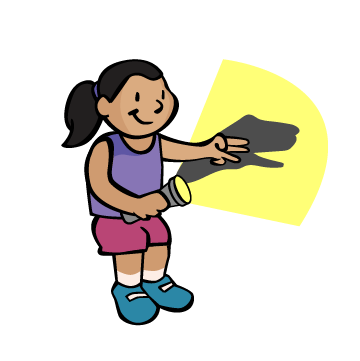
Set up several “shadow stations” around the room, with clamp lamps attached to chairs, facing the wall, or children in pairs with a flashlight for each pair. Also, set up your “shadow stage” (See the instructions for the Guess My Shadow activity), with a white sheet as the screen and a light source shining behind it.
Make a puppet of your own ahead of time to show to the students during the “Make it Click” discussion. Try to make a puppet that has a head, arms and/or legs that move. You can do this by cutting out your figure (let’s say it’s a soccer player) from a piece of oak tag, then cutting its arms and/or legs off. Using a hole punch, you should then punch holes in the top part of the legs and arms, and on the hip and shoulder section of the body. You can then reattach the arms and legs to the body with the brass fasteners, and now you have a shadow puppet that you can arrange in different poses! The last step is to tape a craft stick or straw to the center of your puppet. It works best if the stick is pointing out, instead of down (see the picture above). You can tape additional sticks or straws to the moveable parts (arms, legs, etc.) so that you have more control over your puppet.

If you have done it, refer to the Guess My Shadow activity, and ask children if there were other objects they might have tried to make shadows with. Make a list of the objects that they name. Or, ask your students if they have ever noticed the shadow of something on a wall or on the ground before. Could they tell what it was? Have they ever noticed their own shadows on the ground?
Make a shadow puppet of a person, animal or character from a story that you like…or make up your own puppet character!
After 10–20 minutes, when most children have begun cutting out their puppets and started testing their shadows, bring them together to talk about what they’ve done so far. Is it easy or hard to create a puppet that makes a good shadow? Can they make any changes to their puppets to make better shadows? Through this discussion, lead students to thinking about ways that they can make cutouts in their puppets that will make the shadow more interesting (ex. cutting holes for eyes, an open smile with teeth showing, an athlete’s number in the middle of the puppet, spots on the back of a giraffe, etc.); also, show them the puppet that you made, and introduce the option of making moveable parts on their puppets. Offer them the hole punches and brass fasteners as tools to help make this possible.
Send them back to complete their puppets. As a wrap-up discussion, have volunteers show off their puppets to their classmates, and tell the group that next time they will team up to create a shadow puppet play.