
Boston Children's Museum
308 Congress Street, Boston, MA 02210
617-426-6500
© Boston Children’s Museum 2024
Website Design by JackrabbitEngineering activities give kids a chance to develop problem solving and observations skills, to work with interesting and engaging tools and materials, and to learn how to work as a member of a team. In this activity, children get a chance to do all that—and to launch their creations into the air!
These rockets fly a long way, so this activity should be done outdoors or in a gymnasium or cafeteria.
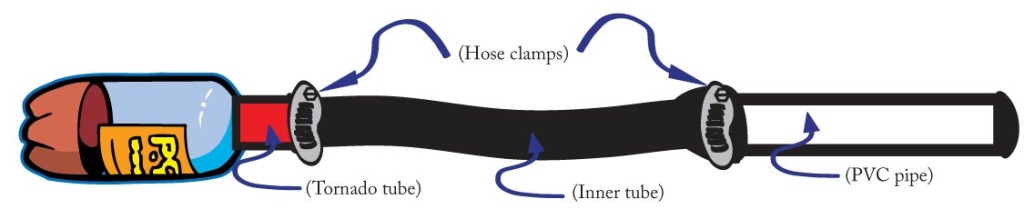
Make a sample rocket to show students later (read all of these instructions for tips). Next, create the rocket launcher. Cut the valve section off of one of the bicycle inner tubes so it is one long open tube (See Figure 1, below).
Slip one end of the inner tube over one end of a piece of PVC pipe, up to about 1 inch. Slip the other end of the inner tube over one end of the tornado tube, up to about 1 inch. Slip 1 hose clamp over the inner tube and PVC pipe, and 1 over the inner tube and tornado tube, and tighten these clamps with a screwdriver. The clamps will hold the inner tube in place on the pipe and tornado tube. You could use duct tape instead of hose clamps, but this makes replacing parts of the rocket launcher a lot harder and messier. Also, this activity can be done without the Tornado Tube, but get it if you can—it makes it much easier to replace broken soda bottles—which will happen occasionally. Your final step in creating the rocket launcher is to screw a soda bottle into the open end of the tornado tube. If you’re not using the tornado tube, you can slip the inner tube over the open end of a soda bottle, then clamp them together with the hose clamp. When you are finished, your rocket launcher will look like this (See Figure 2, below).
Ask your students if they’ve ever seen a rocket before. What does a rocket look like? Have a volunteer draw a rocket on a piece of chart paper or a chalkboard. Is this the shape everyone had in mind? If anyone has another shape in mind, have them draw that shape. Do rockets travel fast or slow? Does the shape have anything to do with that? Can they think of other things that travel fast? What is their shape like?
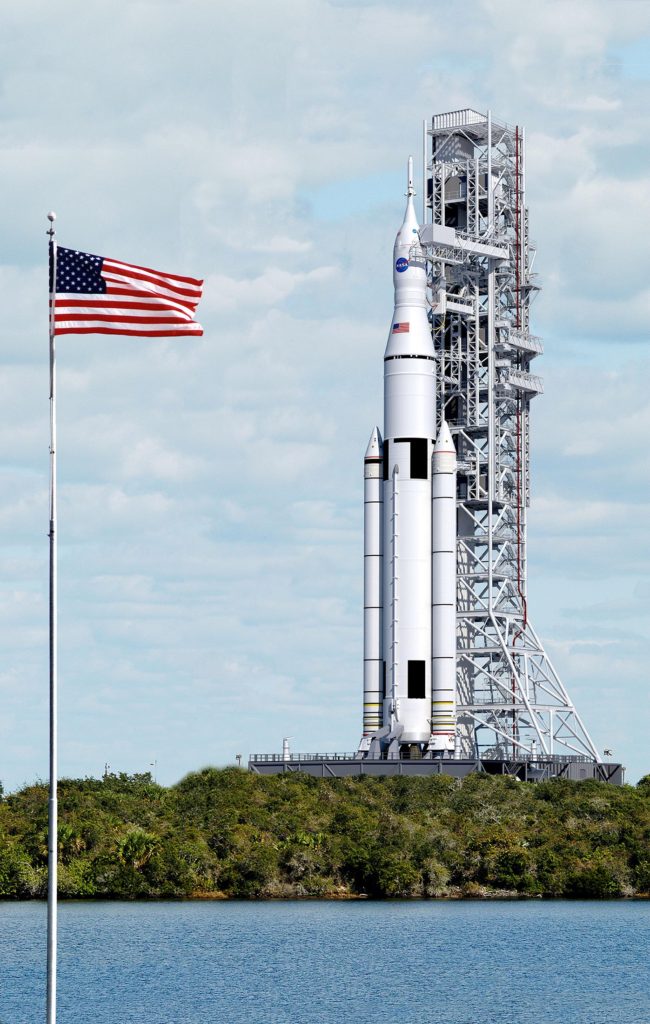
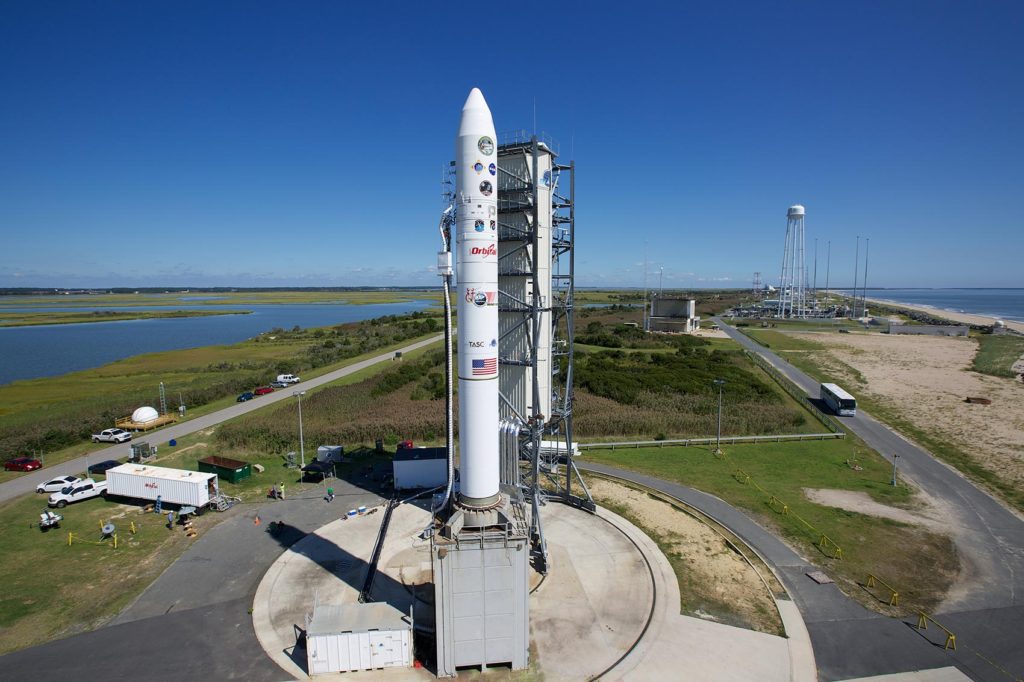
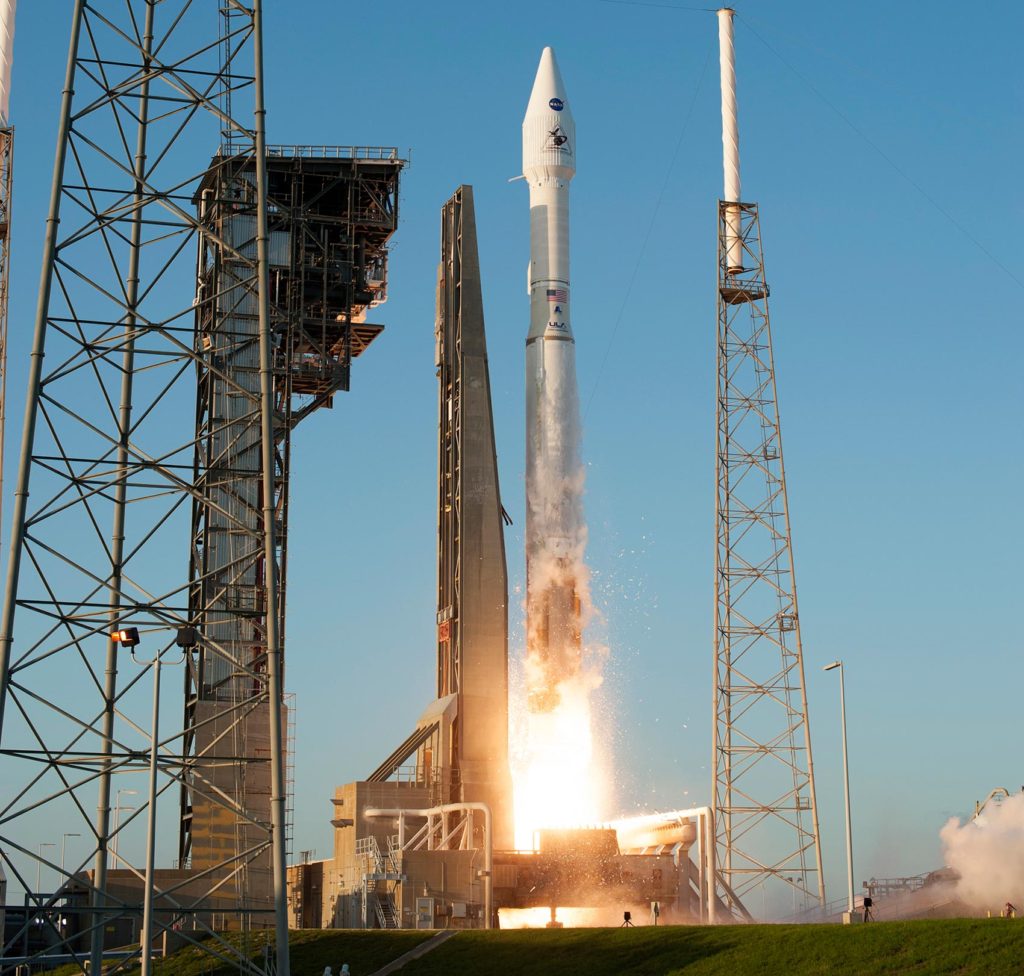
What do we use rockets for? Show them some NASA images of rockets (there are a few example in Resources, above, to get you started), or videos of rockets, such as these: https://www.youtube.com/watch?v=bkZac30P5DM .
What do these rockets all have in common? Ask your students to list for you the parts of a rocket. You should write down what they come up with on chart paper, a white board, etc. where everyone can see it. Make sure that a “nose” or “tip” (sometimes called a nose cone), fins, a body, and something about propulsion or “power” are all included on the list. NOTE: Not every rocket has fins or even a nose cone, but for the purposes of this activity, it is good to look at the parts of a rocket and how those parts can impact its performance.
Design, build and launch a rocket that travels as far and as straight as possible.
After 10-15 minutes, when teams have built a first prototype and had a test launch or throw, bring the group together to talk about what they have discovered. What have they added to their rocket to help it fly? Have each team show their rockets to the other teams. Look for teams that have created a closed end at the top of the rocket. How does this help the rocket’s flight? Also look for teams that have added weight to the rocket. How does that help?
After hearing from each team, send them back to work on their rockets. Most likely, students will have some working prototypes by the end of the session but will not have perfected their rockets. Use the next activity, Paper Rockets – Flying Farther to give them a chance to make their rockets even better.
Ready to launch? Give kids a chance to test their first prototypes at the end of the session. Place the soda bottle on the ground and hold the PVC end up in the air, pointing away from the students at about a 45 degree angle. Make sure all connections on the launcher are tight, the soda bottle is not crushed, and that the tube is not twisted. Each team should come up to you, slip their rocket over the piece of PVC, and step back. Have the class count down from 10 – when they reach 0, they can yell “Fire!” or “Ignition”, etc., while 1 student from the team whose rocket is being launched stomps on the soda bottle. This will force air through the tube and into the rocket. If the rocket has a closed end at the top, it will fly off into the air. If it does not fly—well, that is just a great opportunity to do some problem solving. You may need to “re-inflate” the bottle after each launch. Hold the end of the PVC with your fingers protecting your mouth from touching it, and blow into it to refill the bottle.
Earth and Space science activities were developed with the support of NASA. This material is based upon work supported by NASA under grant award number NNX14AQ83G. Any opinions, findings, and conclusions or recommendations expressed in this material are those of the author(s) and do not necessarily reflect the views of the National Aeronautics and Space Administration (NASA).
Boston Children's Museum
308 Congress Street, Boston, MA 02210
617-426-6500
© Boston Children’s Museum 2024
Website Design by Jackrabbit